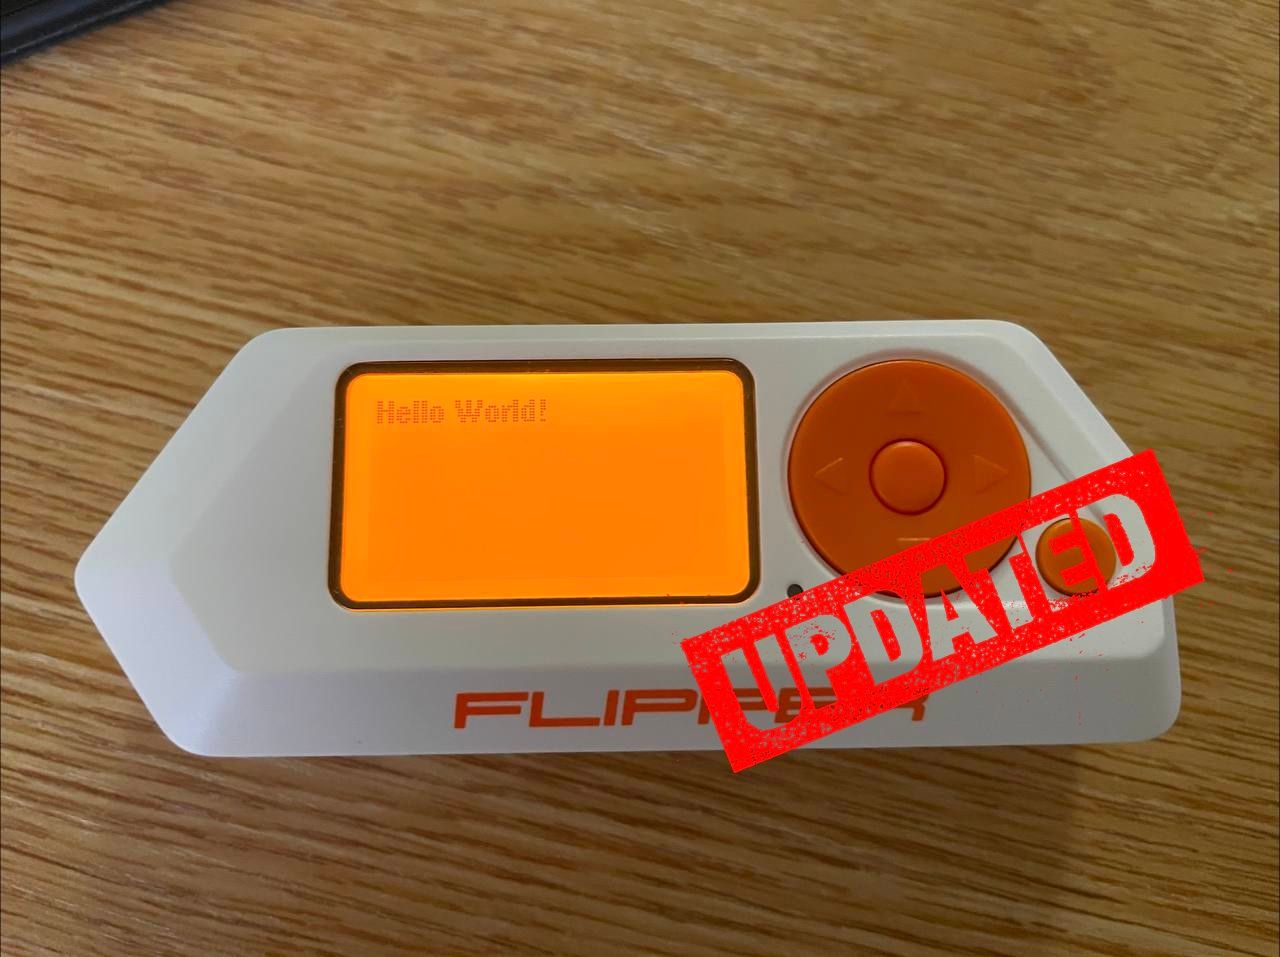
Six months have passed since I published the previous post about my first experiments with Flipper Zero. Surprisingly, it remains relevant and popular in the community, but the development tooling for Flipper has moved forward in the meantime. Whenever people say that my article helped them, moderators of the Development SW & HW topic in the chat tell them to stop digging into the firmware source and start using ufbt (micro Flipper Build Tool). Since people are still finding their way here, I will write a short guide to doing just that.
Installing the tooling
Let us port our Hello World to the new build system. ufbt is installed as a Python package; to keep things clean, I recommend creating a dedicated virtualenv or conda environment for it. For anyone who has forgotten how this is done, use just one of the following two options, not both:
python -m pip install virtualenv
virtualenv flipper
source ./flipper/bin/activate
Create a virtualenv named flipper
conda create -n flipper python=3.10
conda activate flipper
Create a conda environment
The rest of the installation is simple and identical in both cases:
python -m pip install --upgrade ufbt
ufbt update
14:37:02.986 [I] Deploying SDK for f7
14:37:02.987 [I] Fetching version info for UpdateChannel.RELEASE from https://update.flipperzero.one/firmware/directory.json
14:37:03.630 [I] Using version: 0.88.0
14:37:03.630 [I] uFBT SDK dir: /Users/pavel/.ufbt/current
14:37:05.275 [I] Deploying SDK
14:37:05.475 [I] SDK deployed.
The first command downloads uFBT; the second downloads the current SDK
The toolchain, which includes the compiler and standard libraries, is not downloaded by this command. An easy way to obtain it is simply to run ufbt. It will finish with an error, but it will download everything you need. You can also skip this step; the toolchain will then be downloaded the first time you try to build the project.
ufbt
Checking for tar..yes
Checking if downloaded toolchain tgz exists..no
Checking curl..yes
Downloading toolchain:
######################################################################### 100.0%
done
Removing old toolchain..done
Unpacking toolchain to '/Users/pavel/.ufbt/toolchain':
##################################################################### 100.0%
done
Cleaning up..done
scons: Entering directory `/Users/pavel/.ufbt/current/scripts/ufbt'

fbt: warning: Folder app: manifest application.fam is missing
LoadAppManifest, line 33, in file "/Users/pavel/.ufbt/current/scripts/fbt_tools/fbt_apps.py"
scons: *** No targets specified and no Default() targets found.  Stop.
Found nothing to build
The toolchain has been downloaded
On an M1 Mac, the x86_64 version of the toolchain is still downloaded. This has not changed in six months.
ls ~/.ufbt/toolchain
x86_64-darwin
The system is now fully configured and we are ready to begin development.
Creating a new project
A new project template can be created in a directory with the simple command ufbt create. Importantly, the project is created in the current directory, so remember to create a new directory for the project and enter it first.
mkdir hello_world
cd hello_world
ufbt create
scons: Entering directory `/Users/pavel/.ufbt/current/scripts/ufbt'

fbt: warning: Folder app: manifest application.fam is missing
LoadAppManifest, line 33, in file "/Users/pavel/.ufbt/current/scripts/fbt_tools/fbt_apps.py"
Creating '/Users/pavel/DEV/mcu/flipperzero/tutorial/hello_ufbt/template.c'
	INSTALL	/Users/pavel/DEV/mcu/flipperzero/tutorial/hello_ufbt/template.png
Creating '/Users/pavel/DEV/mcu/flipperzero/tutorial/hello_ufbt/application.fam'
Mkdir("/Users/pavel/DEV/mcu/flipperzero/tutorial/hello_ufbt/images")
Touch("/Users/pavel/DEV/mcu/flipperzero/tutorial/hello_ufbt/images/.gitkeep")
Copy("/Users/pavel/DEV/mcu/flipperzero/tutorial/hello_ufbt/.github", "project_template/app_template/.github")
Create a new project
Straight away, the command reports that it cannot find application.fam, which is rather strange because the command itself creates that file. Never mind; it is a minor issue, and as before you can create the three minimally required files (application.fam, hello_world.c, and hello_world.png) manually, as described in the previous post—I actually prefer that option. Most importantly, even when the project files are generated automatically, everything subsequently builds successfully:
ufbt build
scons: Entering directory `/Users/pavel/.ufbt/current/scripts/ufbt'
	ICONS	/Users/pavel/.ufbt/build/template/template_icons.c
	INSTALL	/Users/pavel/DEV/mcu/flipperzero/tutorial/hello_ufbt/template.png
	CC	/Users/pavel/.ufbt/build/template/template_icons.c
	APPCHK	/Users/pavel/.ufbt/build/template.fap
		Target: 7, API: 34.3
Build the project
One detail raised questions for me: the build takes place not in the project directory but in the ufbt directory, which is $HOME/.ufbt/build by default. It is not entirely clear why this design was chosen. The build command also creates no binaries in the project directory. If you run plain ufbt rather than ufbt build, however, the binary is additionally copied to the ./dist directory at the end:
ufbt
scons: Entering directory `/Users/pavel/.ufbt/current/scripts/ufbt'
	CC	/Users/pavel/.ufbt/build/template/template_icons.c
	INSTALL	/Users/pavel/DEV/mcu/flipperzero/tutorial/hello_ufbt/template.png
	CDB	/Users/pavel/DEV/mcu/flipperzero/tutorial/hello_ufbt/.vscode/compile_commands.json
	INSTALL	/Users/pavel/DEV/mcu/flipperzero/tutorial/hello_ufbt/dist/debug/template_d.elf
	INSTALL	/Users/pavel/DEV/mcu/flipperzero/tutorial/hello_ufbt/dist/template.fap
	APPCHK	/Users/pavel/.ufbt/build/template.fap
		Target: 7, API: 34.3
ls
application.fam dist            images          template.c      template.png
As before, you can copy the resulting FAP manually, or upload it to a Flipper Zero connected by USB using ufbt flash_usb.
Working with VS Code
As before, you can generate a VS Code project containing all the configured tasks for building, debugging, and related work. This is done with ufbt vscode_dist:
ufbt vscode_dist
scons: Entering directory `/Users/pavel/.ufbt/current/scripts/ufbt'
Creating '/Users/pavel/DEV/mcu/flipperzero/tutorial/hello_ufbt/.vscode/c_cpp_properties.json'
Creating '/Users/pavel/DEV/mcu/flipperzero/tutorial/hello_ufbt/.vscode/extensions.json'
Creating '/Users/pavel/DEV/mcu/flipperzero/tutorial/hello_ufbt/.vscode/launch.json'
Creating '/Users/pavel/DEV/mcu/flipperzero/tutorial/hello_ufbt/.vscode/settings.json'
Creating '/Users/pavel/DEV/mcu/flipperzero/tutorial/hello_ufbt/.vscode/tasks.json'
	INSTALL	/Users/pavel/DEV/mcu/flipperzero/tutorial/hello_ufbt/.clang-format
	INSTALL	/Users/pavel/DEV/mcu/flipperzero/tutorial/hello_ufbt/.editorconfig
	INSTALL	/Users/pavel/DEV/mcu/flipperzero/tutorial/hello_ufbt/.gitignore
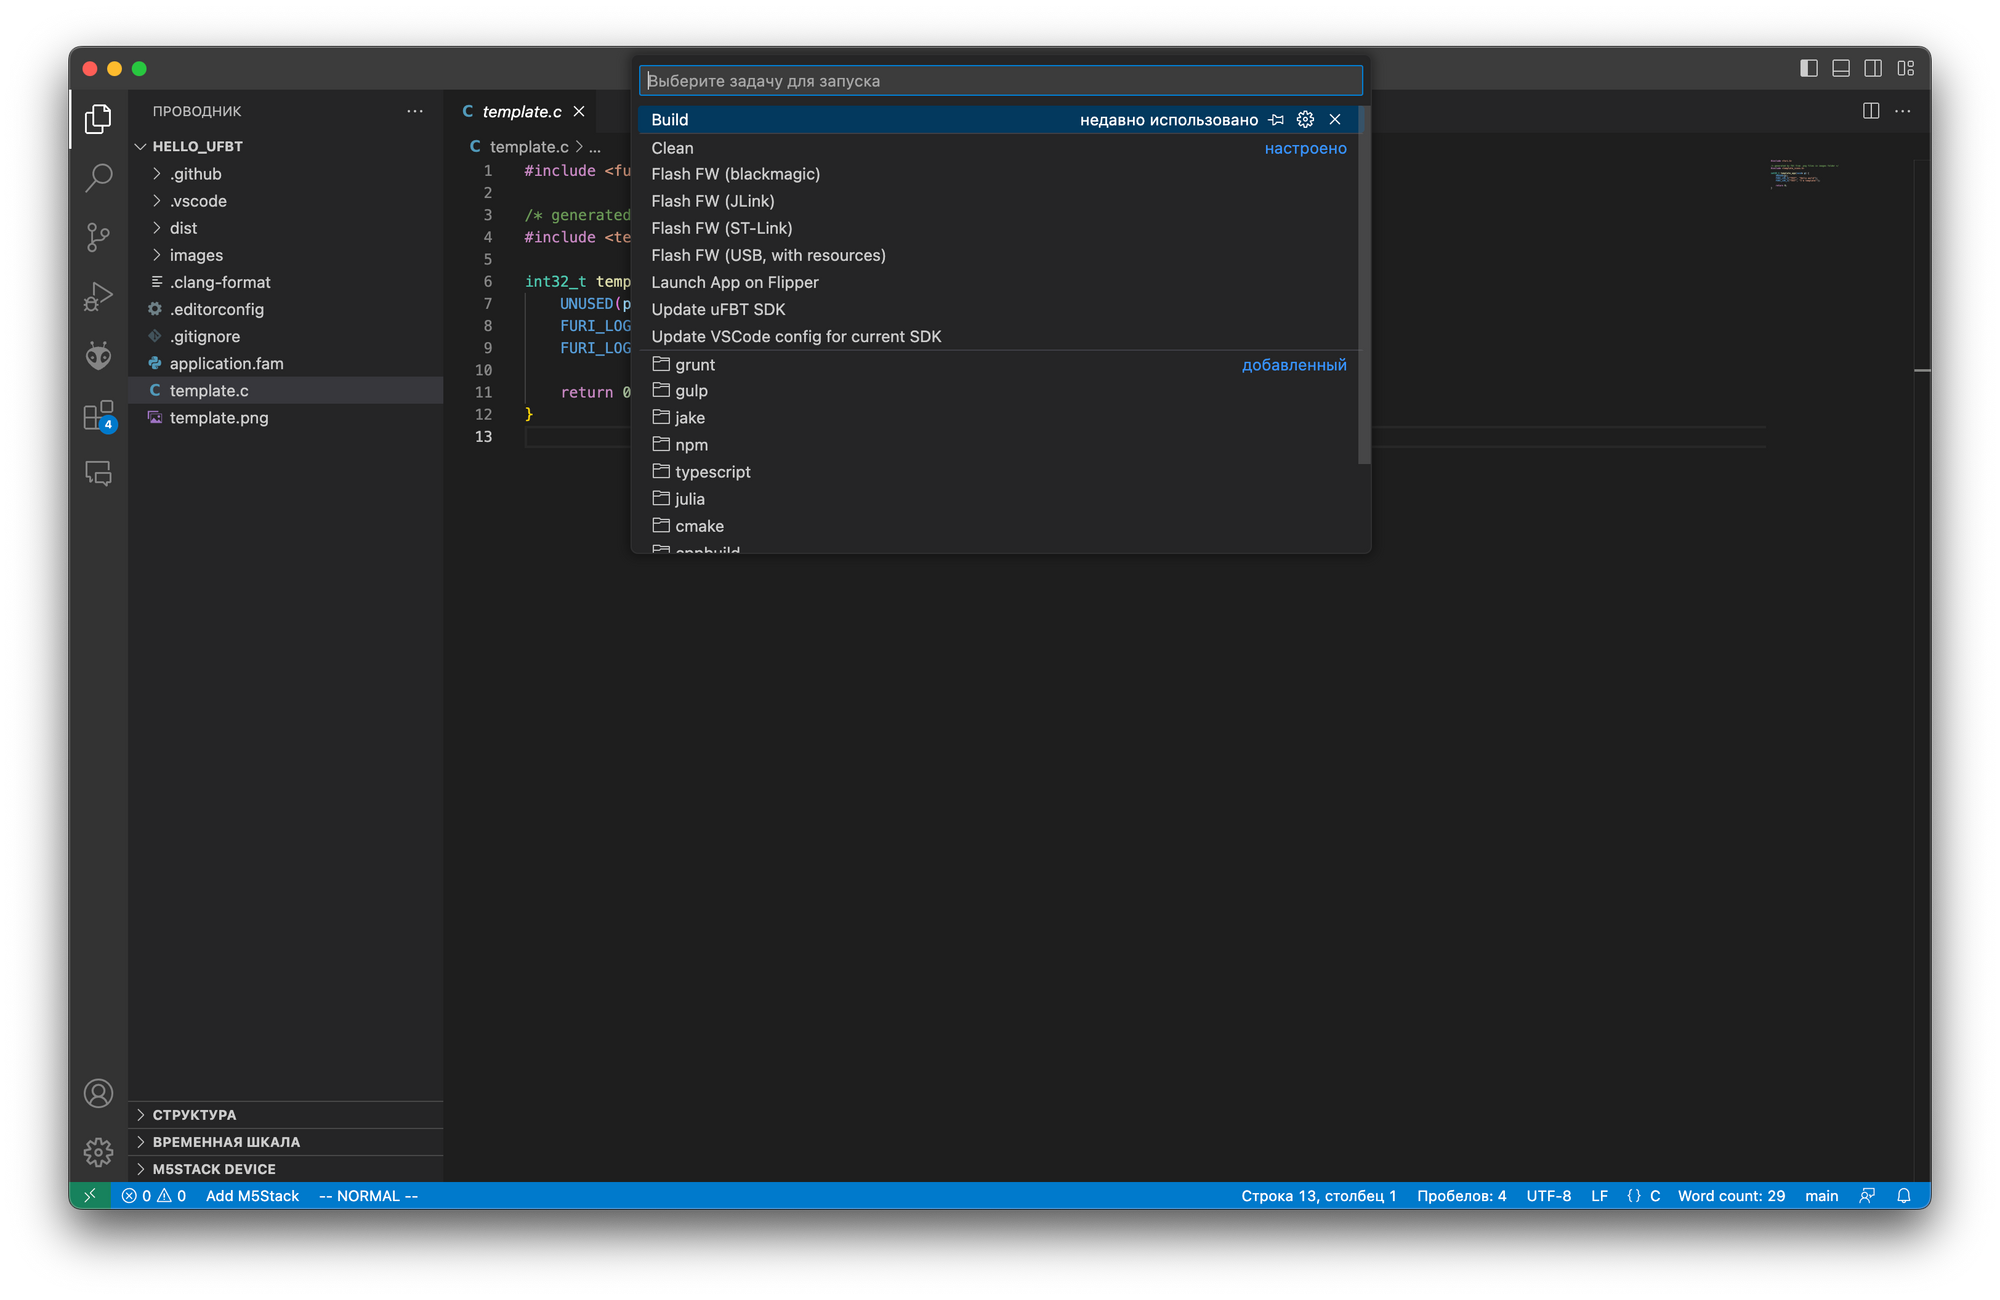
You can then simply open the project directory in VS Code, and everything will work as expected:
And that is all there is to it. The previous post explains how to write applications, and that part is still up to date.